Soft Gruyère
vegan, gluten-free, refined sugar-free
Adapted from Miyoko Schinner's recipe in Artisan Vegan Cheese
Vegan Cheese! If you've only tried commercial vegan cheese and hated the texture and/or taste, I urge you to give this a try. I've been making my own vegan cheese since I got Miyoko Schinner's revolutionary book Artisan Vegan Cheese back in 2012 - if you love creamy foods, I'd highly recommend getting the book. Vegans and non-vegans alike love the homemade stuff!
Soft Gruyère is my favorite recipe in the book, and it relies on cashews for creaminess and a brief fermentation process for a slightly sharp flavor. It's creamy, spreadable perfection! Serve with crusty bread, crackers, or fruit, or mix in a pot with a little hot pasta water for a decadent vegan alfredo sauce! I also use it in my Cauliflower Gratin.
The whole process including making the rejuvelac (culturing agent) does take a few days, but don't be intimidated by this - It only takes a few minutes of active time per day!
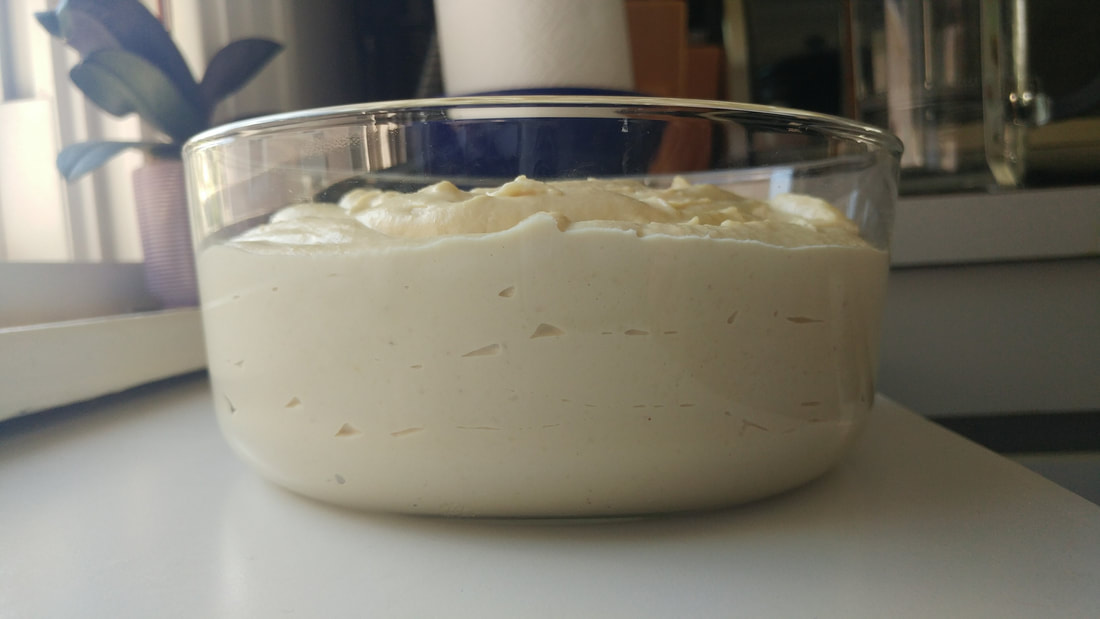
Before fermentation
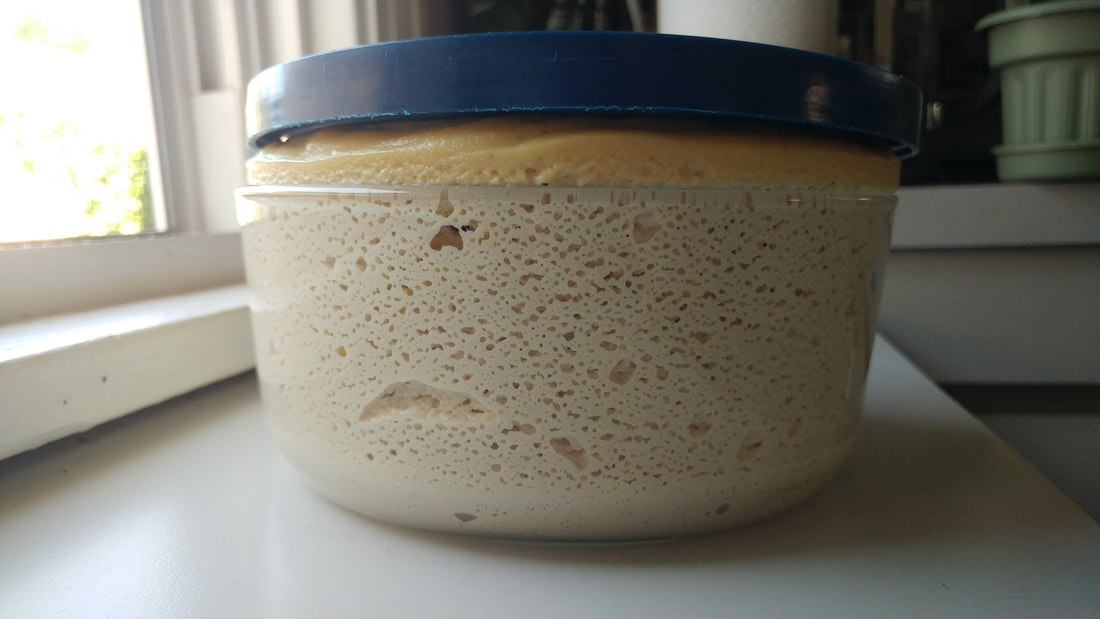
After 18 hours of fermentation - notice that it expanded so much it pushed the lid off!
|
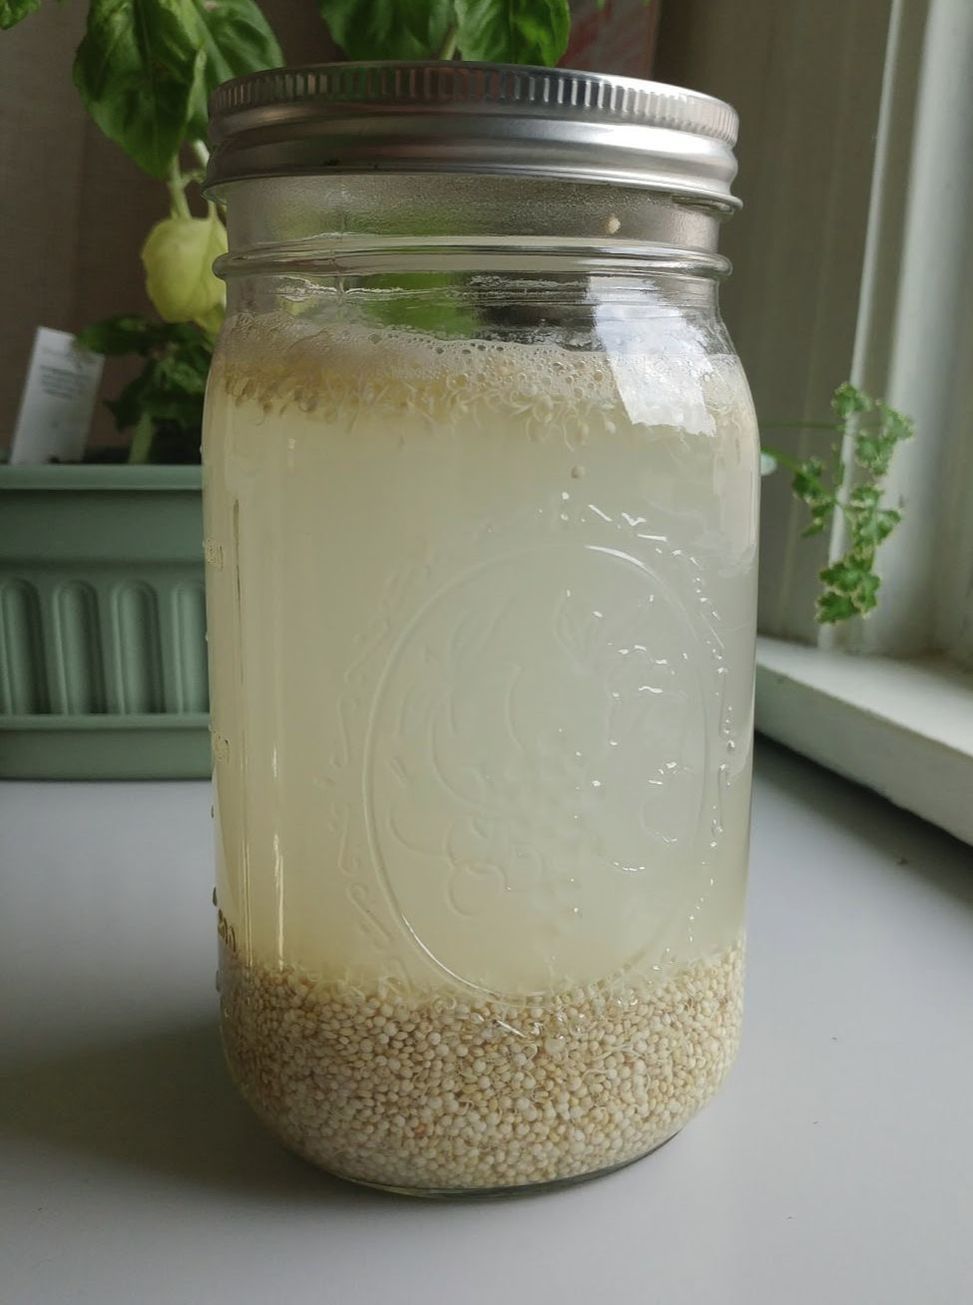
Rejuvelac in it's bubbly stage - ready to be strained!
|
Yield: 1 pound / Active time: about 20 min / Inactive time: 1-4 days
|
Ingredients:
|
Directions:
|
*Be sure to use refined coconut oil (virgin coconut oil will taste too coconut-y here!) **Choose a container with plenty of room for the expansion that often takes place during fermentation (see photo). The cheese generally ferments faster and expands more if the ambient temperature is warmer. ***The finished cheese can be frozen for several months. I like to make a double batch and freeze whatever I won't consume in 2 weeks in smaller resealable containers. |
Quinoa Rejuvelac
Yield: 3 cups / Active time: 15 min / Inactive time: 1-3 days
|
Ingredients:
|
Directions:
|
*You can use other whole grains (like brown rice or wheat berries) instead of quinoa, but quinoa sprouts the fastest. **If you have a sprouter, you can use that instead of a jar and strainer for the first 6 steps. It will make rinsing a little easier, but it's not necessary. ***Rejuvelac can be made in advance and stored covered in the fridge for up to a month or in the freezer for several months. When I make a batch, I freeze 1/2 cup portions for easy use in the future. |